
How do I update my Styku to the latest version, or download the software?
Note: This update process takes about 10–30 minutes on average. Please schedule time to complete it.
Step 1 — Disconnect hardware
Section titled “Step 1 — Disconnect hardware”Important. Disconnect your Styku turntable and sensor from the computer before starting the update.
Step 2 — Download the latest software
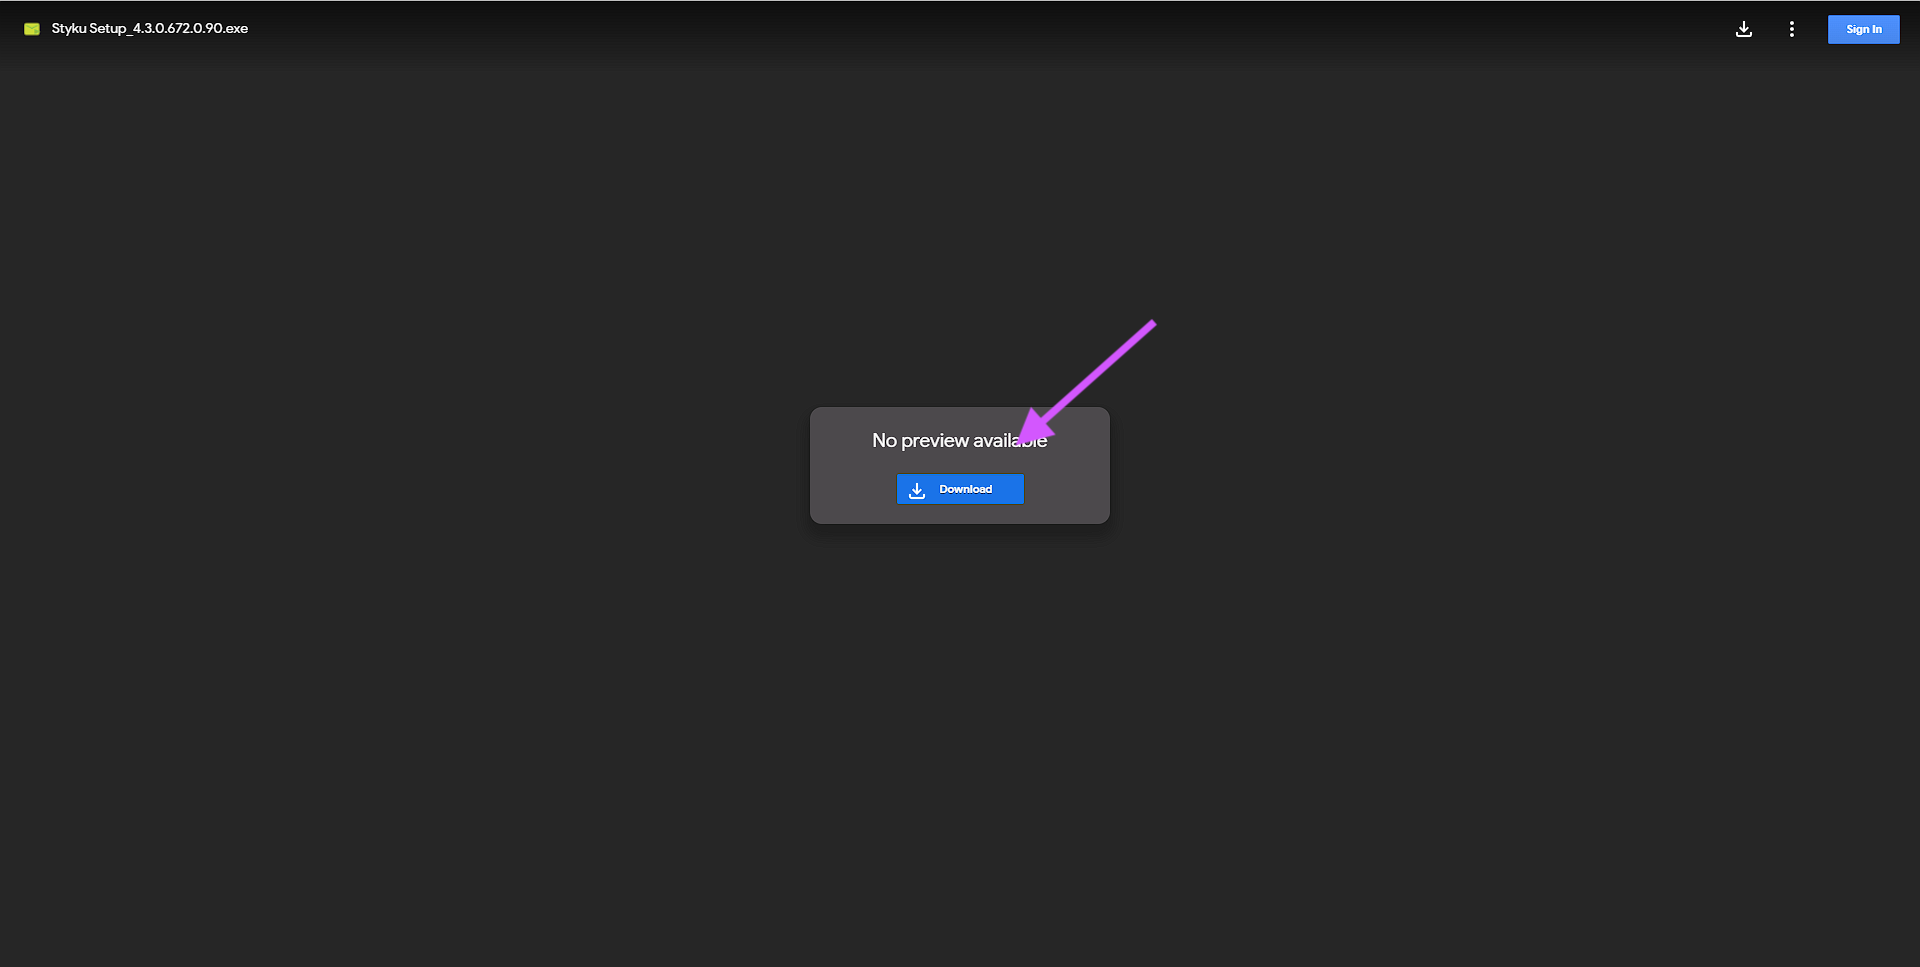
Section titled “Step 2 — Download the latest software”Click the link below and choose Download on the right side of the file (the download option appears when you hover over the file):
https://f.hubspotusercontent40.net/hubfs/2640795/Download%201-png-1.png
Step 3 — Confirm the download
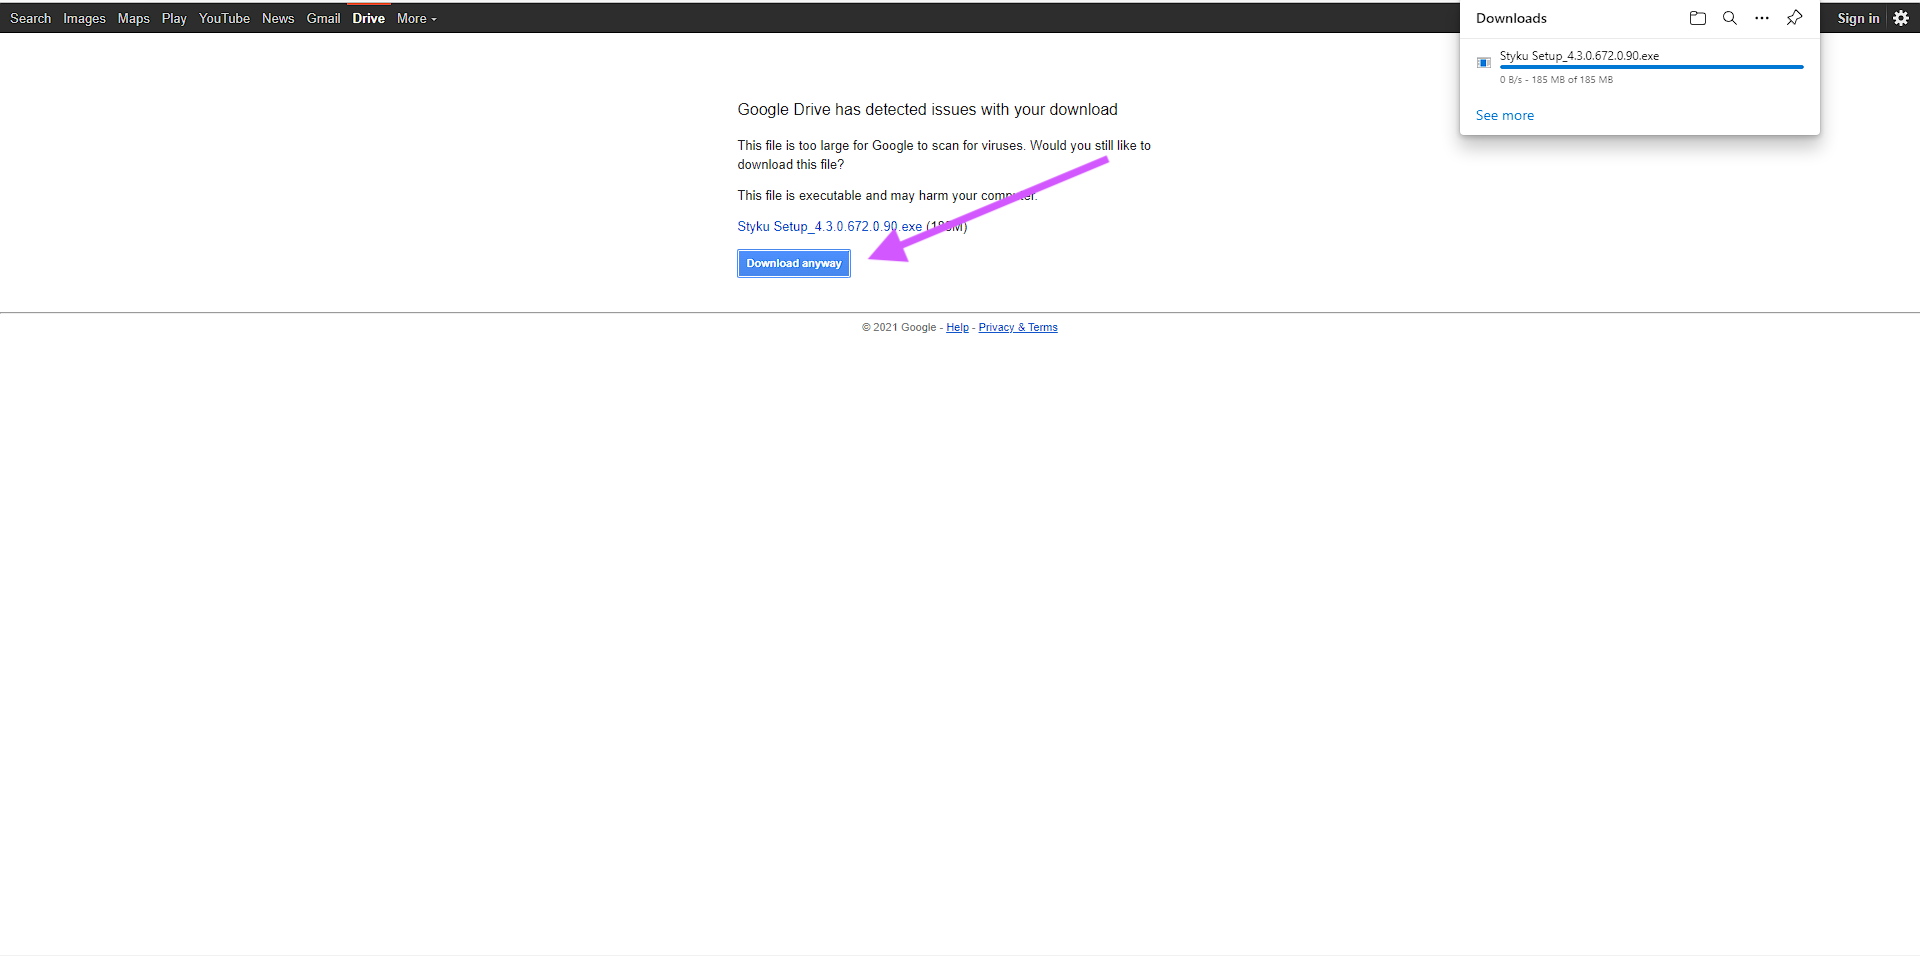
Section titled “Step 3 — Confirm the download”Click the download button on the next page.
https://f.hubspotusercontent40.net/hubfs/2640795/Download%202-png.png
Step 4 — Bypass the browser warning
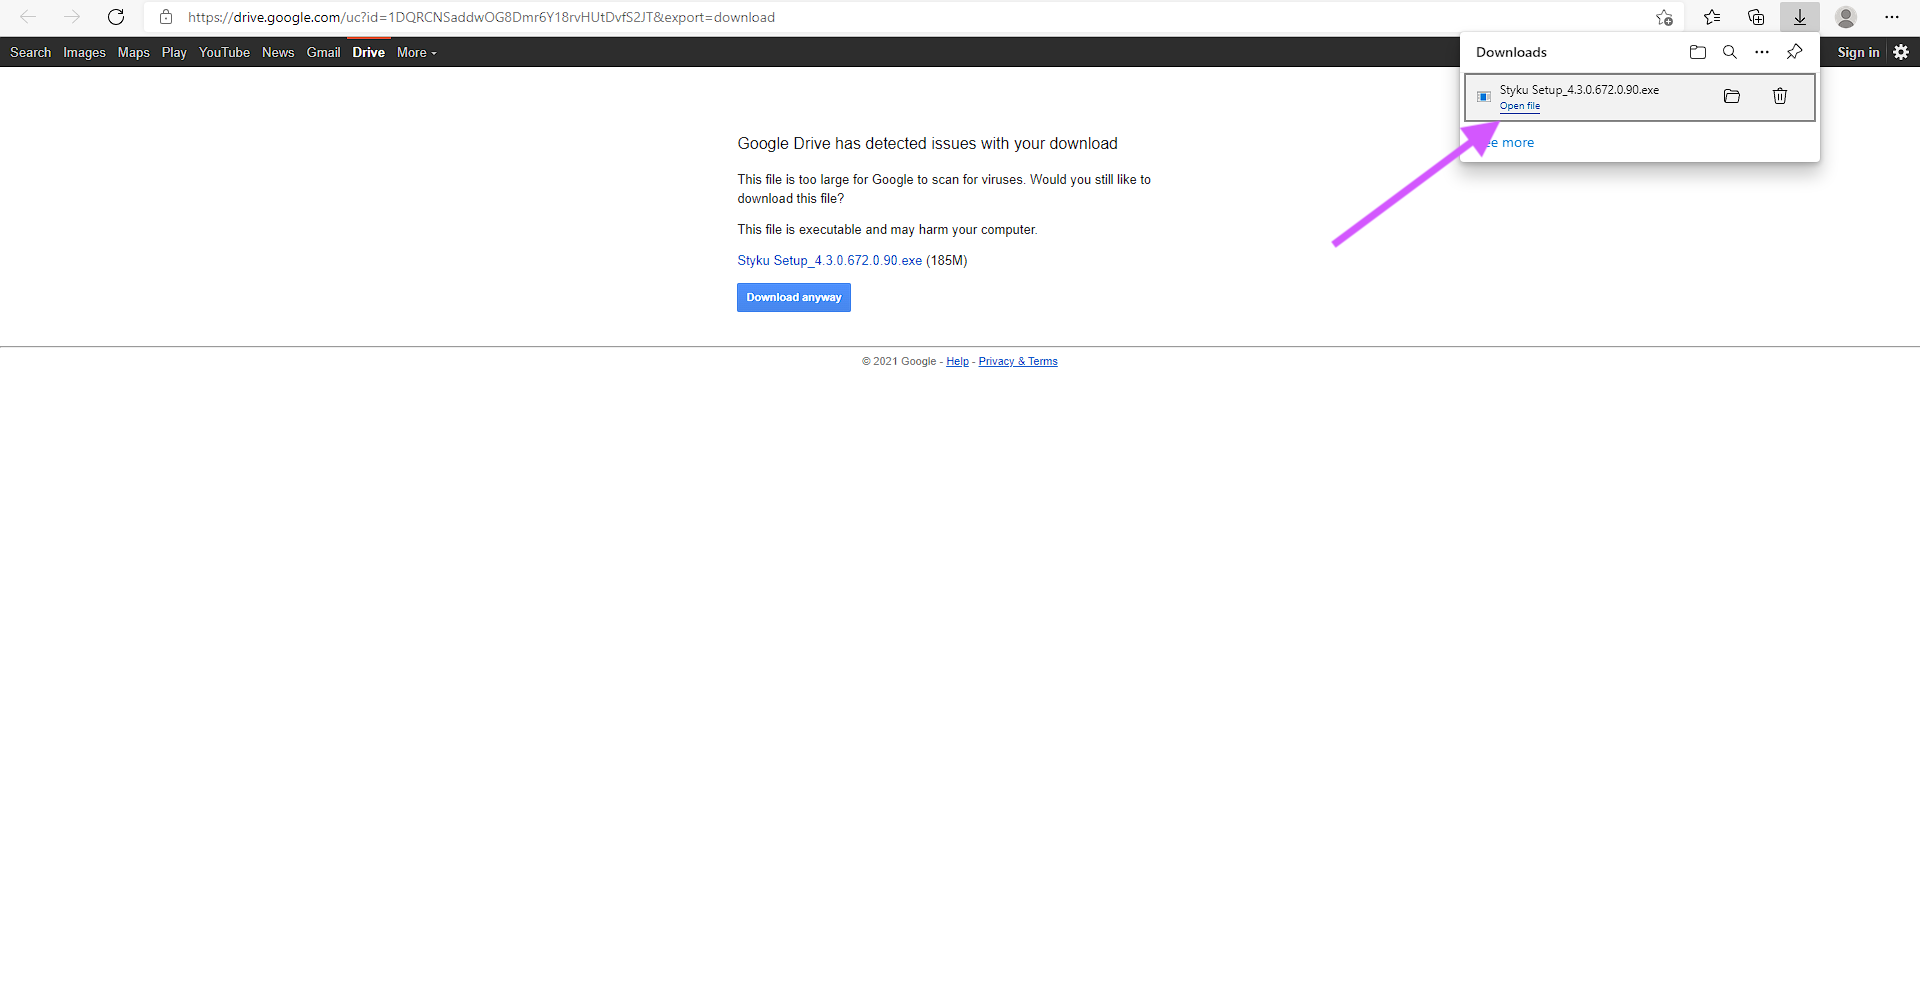
Section titled “Step 4 — Bypass the browser warning”If your browser warns about the file, click Keep or Download anyway.
https://f.hubspotusercontent40.net/hubfs/2640795/Download%203-png.png
Step 5 — Open the installer
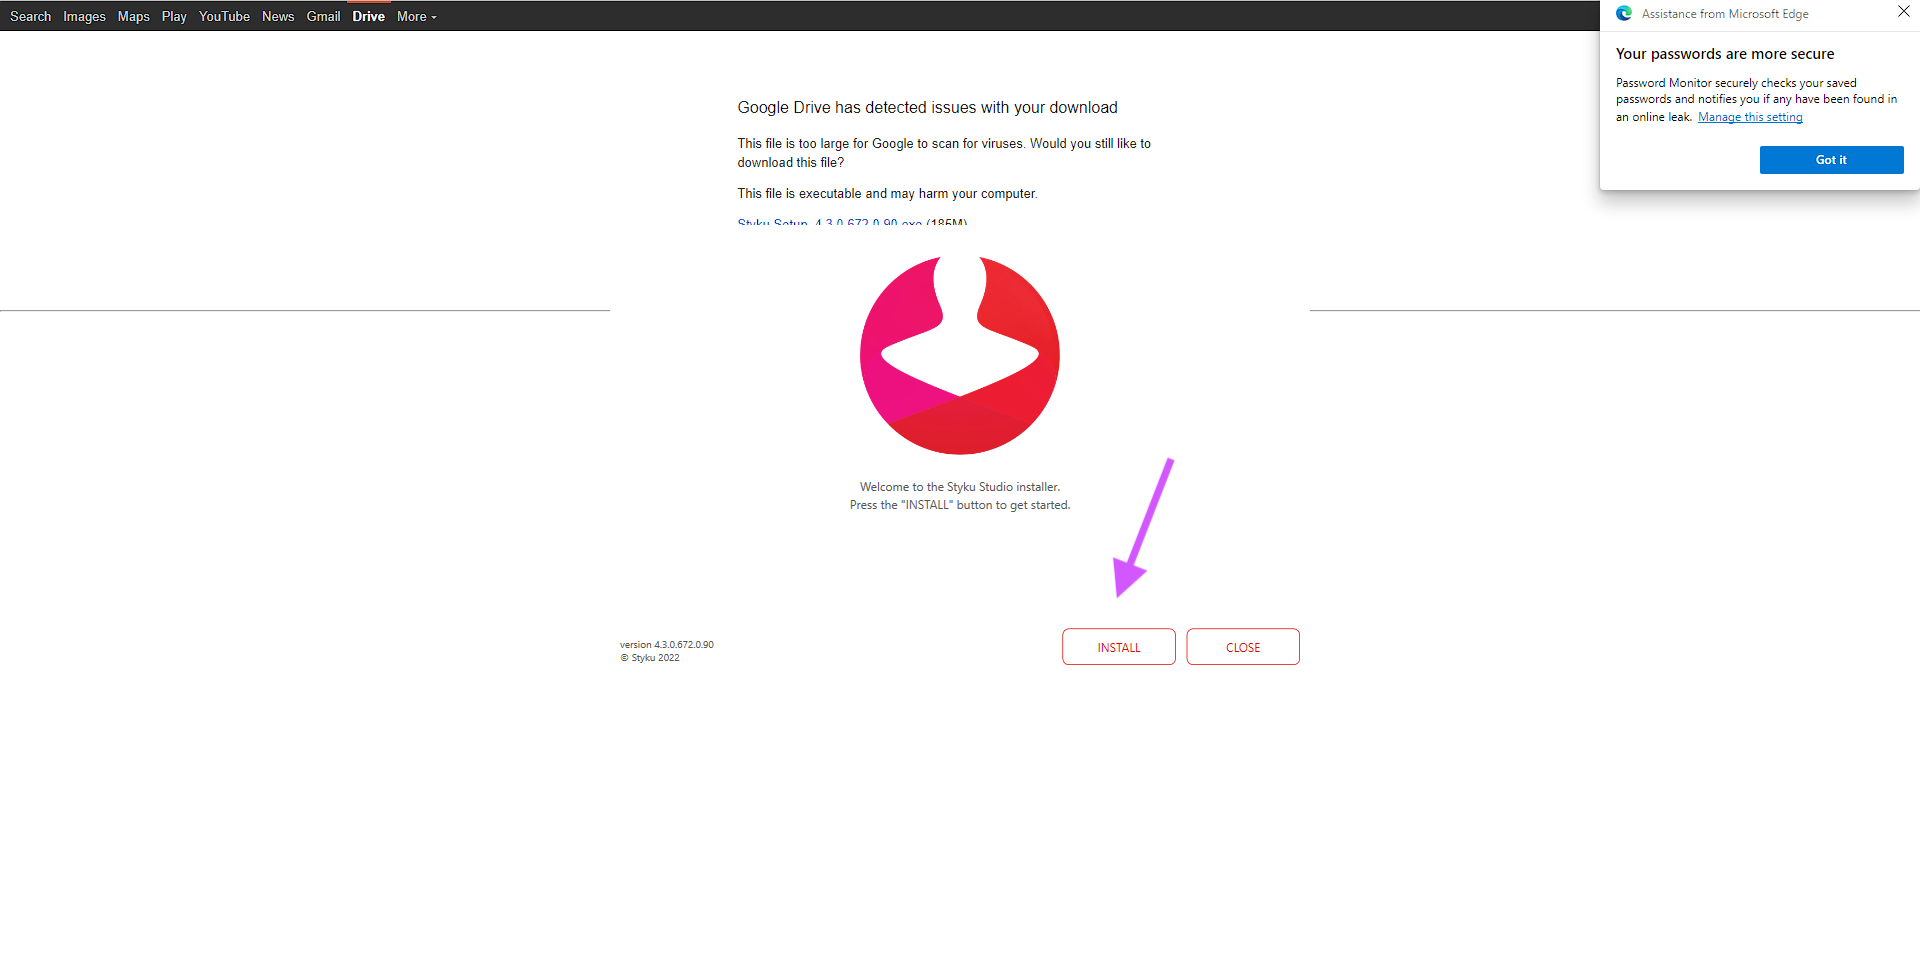
Section titled “Step 5 — Open the installer”Click Open file in the top right of your browser, or run the downloaded .exe from your Downloads folder.
https://f.hubspotusercontent40.net/hubfs/2640795/Download%204-png.png
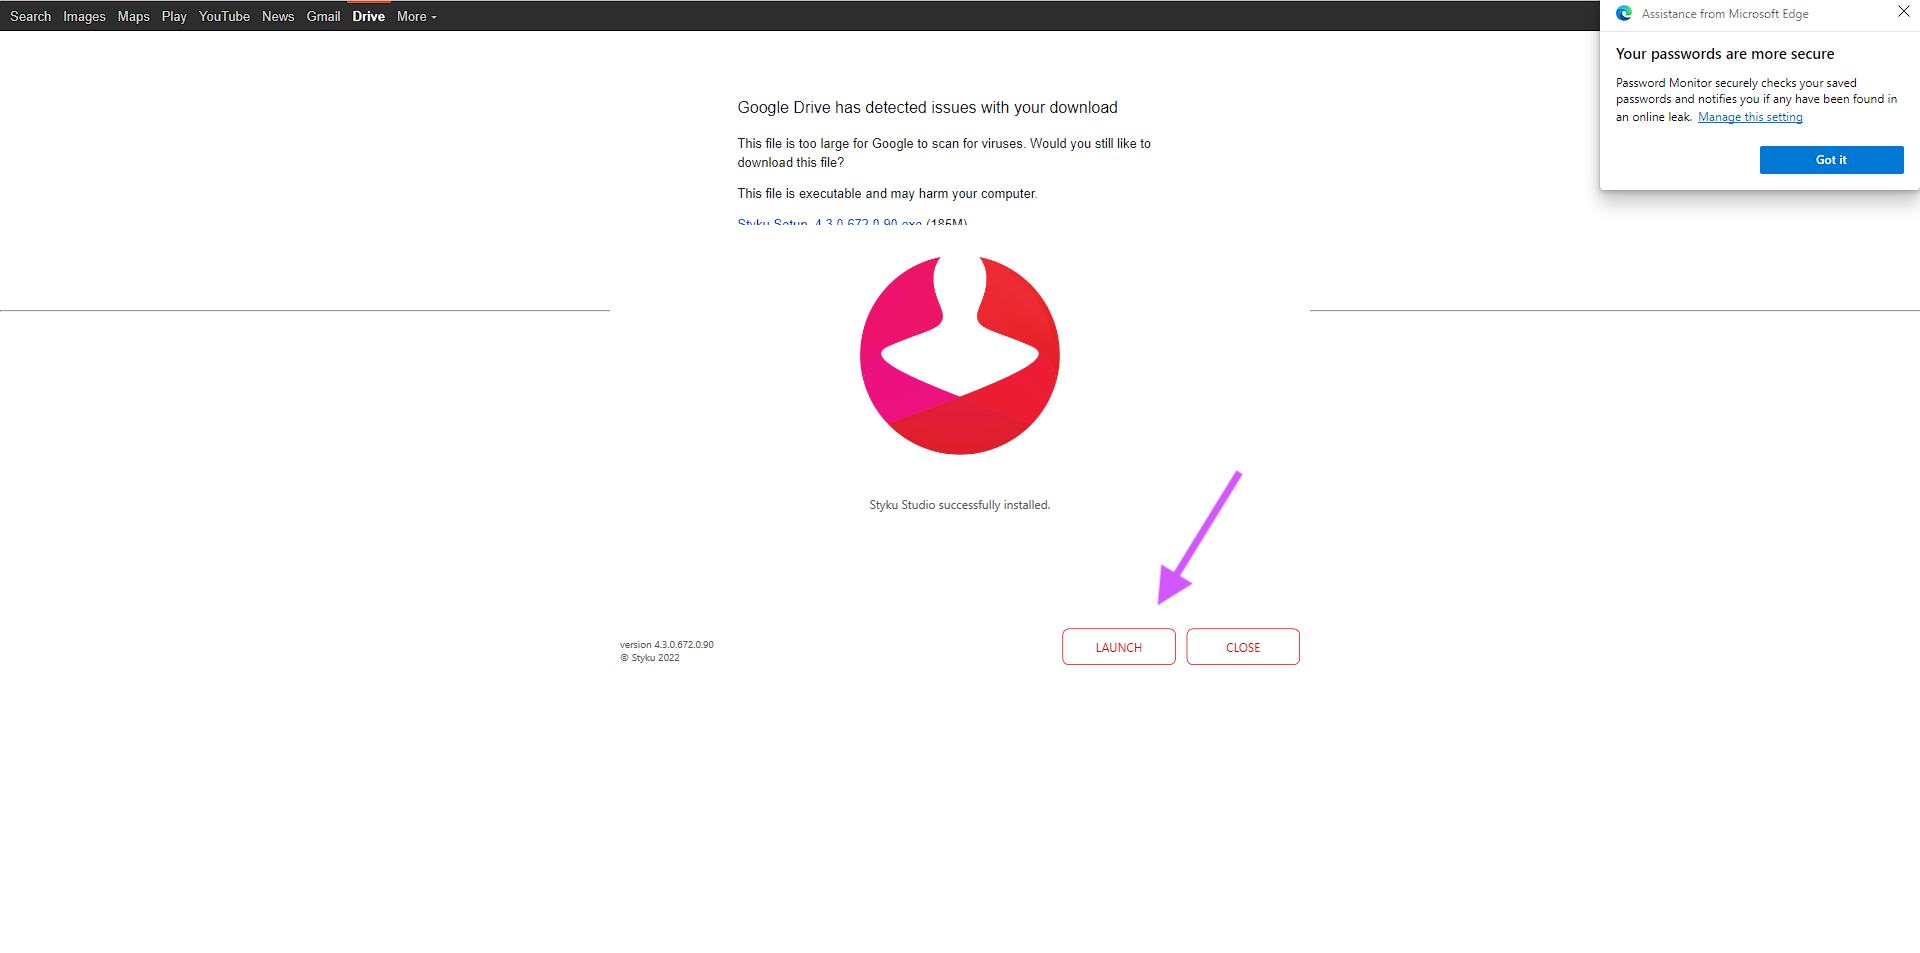
Step 6 — Install Styku
Section titled “Step 6 — Install Styku”Click Install on the Styku window that opens, then click Launch when installation completes.
https://f.hubspotusercontent40.net/hubfs/2640795/Download%205-png.png
Step 7 — Log in or create your account
Section titled “Step 7 — Log in or create your account”Follow the administrator account creation prompts.
Important: If you already have a Styku account, use your existing email and password to log in. If you don’t remember your password, click Forgot Password to reset it. Do not choose Create Account — there is no need to create a new account.
For security, you may be asked to re-authenticate your credentials even if you’ve signed in before. You can skip this step a few times and complete it later if needed.
Step 8 — Choose your software preferences
Section titled “Step 8 — Choose your software preferences”Set your software preferences when prompted.
Step 9 — Finish
Section titled “Step 9 — Finish”Once you’ve completed administrator setup, press Finish.
- Reconnect hardware after the update completes — plug the turntable and sensor USB cables back in once Styku Studio is fully launched.
- Your scan data is preserved. Scans are stored on Styku’s servers and will reappear after the update.
- A license key can only be active on one computer at a time. If you are installing on a different machine, see the related install article for the license-reset process.
If this resolves your issue, no further action is needed.
If the problem persists, contact support through the Styku Business Portal at styku.com/portal and include: your Styku Studio software version (before and after the update if applicable), the exact step where the update fails, any error messages, and the Windows version on your computer.
Applies to: Styku Studio, all current Styku scanner models, Windows 10 and Windows 11 computers.
Related Resources
Section titled “Related Resources”- How do I install and activate Styku Studio software on my computer?
- How do I find and install the Styku Studio update?
- What’s new in Styku Studio, and should I install the update?
Still need help? Submit a service ticket in the Styku Business Portal.